Namecheap: Setting up a Custom Domain
In order to use Namecheap for a custom domain in Replug, you are required to purchase a domain or its DNS address are routed towards Amazon in your domain registrar.
Purchase your domain from https://namecheap.com and sign into your account.
Select the Domain List from the menu on the left.
Click the Manage button next to your domain.
Go to the Advanced DNS tab.

Go to the Host record s section. Click on the Add New Record.

Click the Add Your Record and select the CNAME from the Type drop-down menu.

CName Value: rplg.co
You can show your main domain as well as sub-domain if you have purchased a dedicated domain for this purpose. We'd suggest pointing the main domain.
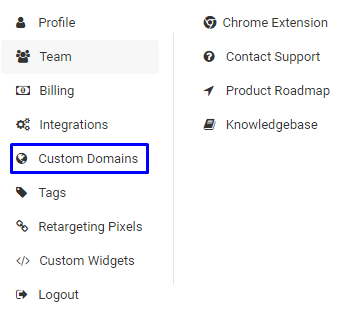
Next is, you need to hover to Replug Dashboard > Settings > Custom Domains, and add your custom domain.
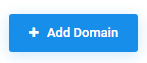
Click on the Add Domain button.
Add the Custom Domain URL and 404 Page URL and Save it.
Once added, click on the Check Connectivity and your domain will be verified. Follow this complete guide for adding your custom domain.
Was this article helpful?