HostGator: Setting up a Custom Domain
In order to use Hostgator for a custom domain in Replug, you need to purchase a domain or its DNS address are routed towards Amazon in your domain registrar.
Purchase your domain from https://hostgator.com and log into your account.
Navigate to the Domains section.
Click on the Simple Zone Editor.
In the Name field, you're required to provide your custom subdomain name. For instance "track"
Name Value: rplg.co
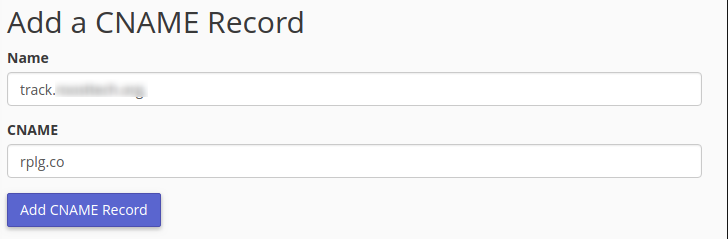
Click on Add CNAME Record.
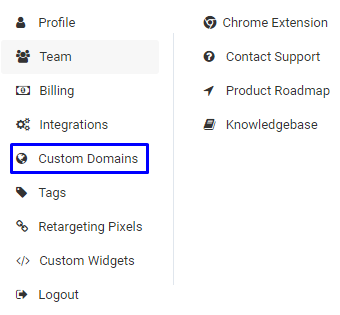
Go to Replug Dashboard > Settings > Custom Domains, and add your custom domain.
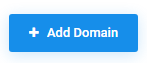
Click on the Add Domains button.
Add the Custom Domain URL and 404 Page URL and Save it.
Once added, click on the Check Connectivity and your domain will be verified. Follow this complete guide for adding your custom domain.
Was this article helpful?