Sendlane Integration
Sendlane provides the tools that you need to grow your marketing activities through personalized behavior-based automation campaigns.
Below steps will guide you through how can you set up Sendlane with Replug.io.
Step 1 Log into Sendlane
Starting off, from the Replug's dashboard, you need to log into your Sendlane account.
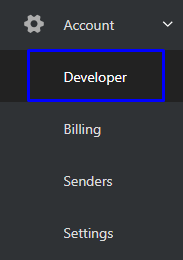
Go to the Account positioned on the navigation menu. and click on the Developer to find access token.
Step 2 Find the API key
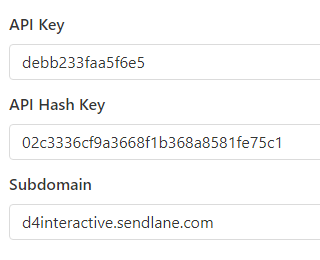
In the next screen, you can access the token includes API Key, API Hash Key, and Subdomain.
Step 3 Connect to Replug
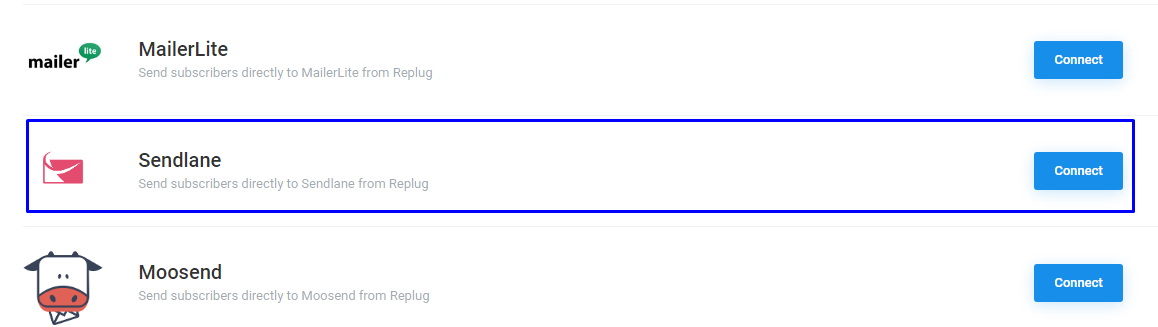
Go to Setting, click on the Integration form the drop-down list. You will see a list of your integrated services with Replug. Click on the "Connect" button in front of the Sendlane as shown below.
After that, you have to enter your API Key, API Hash and URL to integrate your SendLane account with Replug.
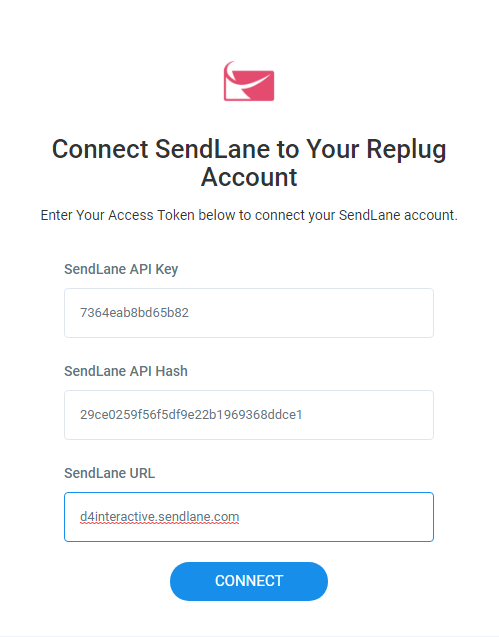
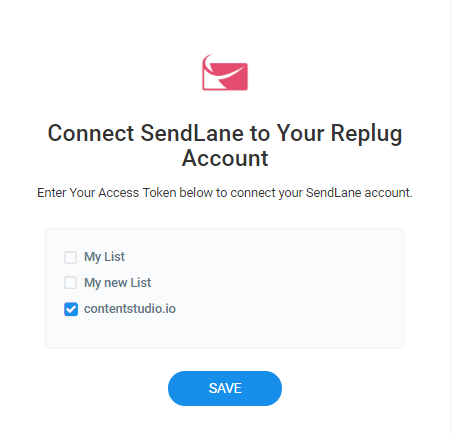
Once you have done successfully, You will have to select the list, you'd like to connect with the Replug, then click on the Save button.
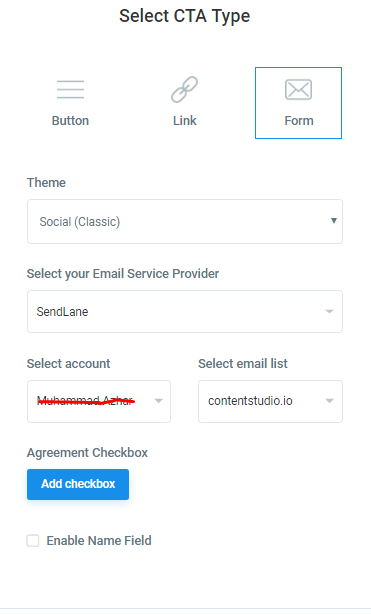
Step 4 Select the CTA type
That's all, you need to do. Now you can select Sendlane option in your campaign type while creating a campaign, then select your account and email list which you had already created in Sendlane account to collect lead.
Moving forward, create a branded URL from the links section and share your can copy that link and share it to your social media channels.
Troubleshooting
If you are connected your campaign to Sendlane and email addresses are not added to your list, then there are common reasons as to why:
Was this article helpful?