Sendy Integration
Sendy is a self-hosted email newsletter application that lets you send trackable emails via Amazon SES (simple email service), Below are the steps that will help you how to integrate Sendy with Replug.
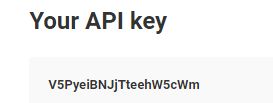
Step 1 How to Get a Sendy API key
In order to access the API key, you need to go to Sendy's Account Settings. In the next screen, you can view the Sendy API key, on the right side of the dashboard.
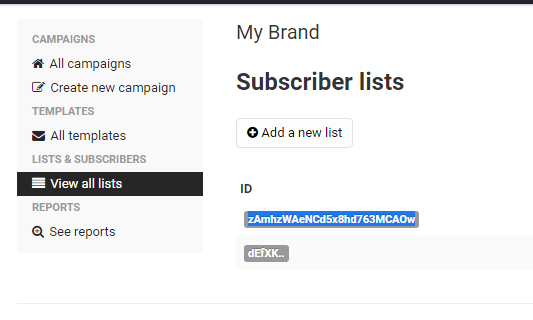
Step 2 How to Access the List ID
You're required to add Sendy ID to integrate your account with the Replug. Click on the Brand, you can see the View all list on the left side of the screen and there you'll find Sendy list ID.
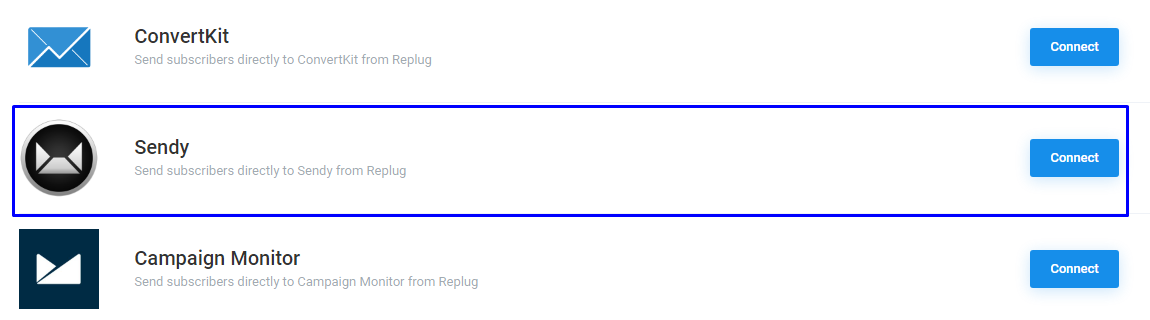
Step 3 Connect with Replug account
Go to Integration page from profile settings. You will see a list of your integrated services, connect Sendy with the Replug and click on the Connect button.
After this, you'll be asked for Account detail, it includes Account Name (you can name it anything for your own reference), List ID, List Name, API key, and URL.

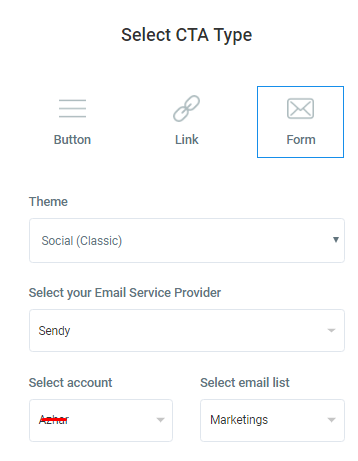
Step 4 You're Connected
Now, your Sendy account successfully connected with Replug, Moving forward, Create a campaign in the Replug, select the Sendy as an email service provider in the CTA type, select account, and email list and Save the campaign.
Once the campaign has been created, you can create a branded link and collect leads to your Sendy
Troubleshooting
If you connected your campaign to Sendy and email addresses are not added to your list, then there are common reasons as to why:
Was this article helpful?