How to Create a Campaign with Third-Party Widgets
In order to create a campaign with third-party widgets, please follow the steps below:
Step 1 Navigate to Campaigns
Locate Campaigns within the Manage tab on the top navigation bar of your screen.
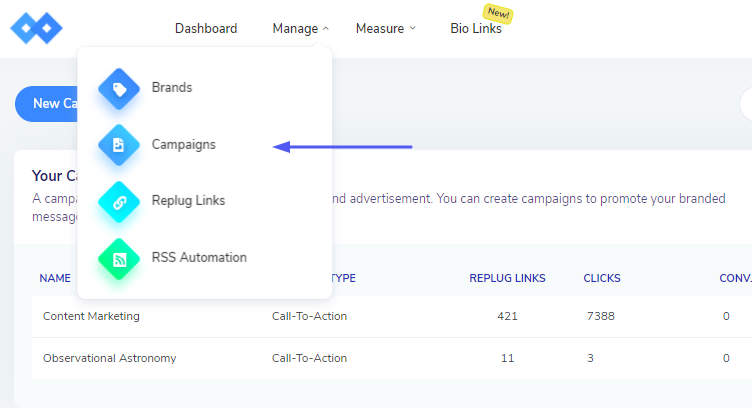
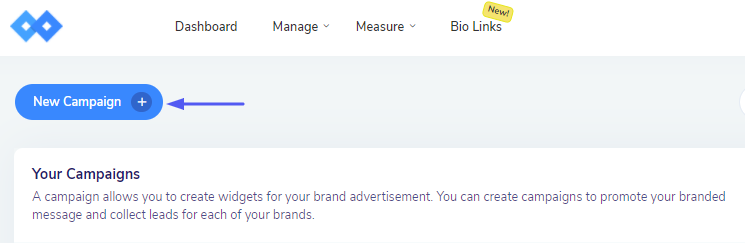
You will be taken to a new screen where you can create new campaigns for your brands.
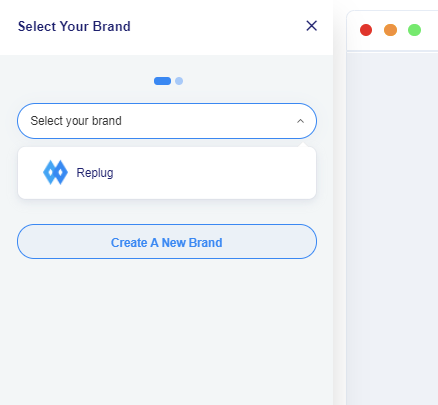
Step 2 Select Your Brand
Select the existing brand that you have created, or create a new one.
Step 3 Select Your Campaign Type
After selecting a brand, you will have to select a name and campaign type for your campaign. Select 3rd Party/Custom widgets as campaign Type.
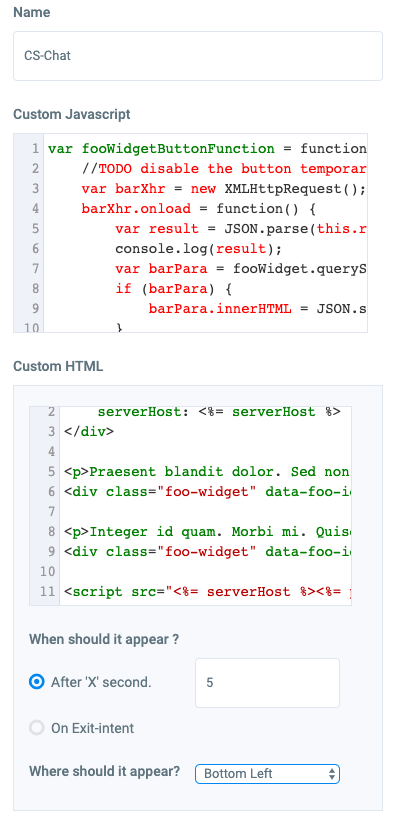
Step 4 Add Your Custom Widgets
In the next step, you need to add the Integration code. The options have been explained below.
Name: Enter the name for your custom widget.
Custom Javascript: You can add the Javascript code for your widget.
Custom HTML: The HTML part of your code goes here.
Enter Time of appearance: Select the time when your custom widget would appear on the screen. You can either enter the number of seconds after which it should appear or select the option 'On Exit-intent'. Choosing the latter option would make your widget appear on the screen when the visitor intends on leaving the web page.
Where should it appear: Select the position of your widget i.e. bottom left, bottom right, middle, top left, or top right.
Add it to your campaign. You can also preview your widget and verify it according to your requirements.

Click on the Save Campaign button to save your campaign

Was this article helpful?