How to Add Retargeting Pixels and Reuse Them While Creating a Campaign
To Improve your marketing efforts you can build your custom audience by adding retargeting pixels to your shortened links. An overview is shown in the below image
In order to add Retargeting Pixels globally, please follow this guide:
Step 1 Navigate to Retargeting Pixels
Starting up from the dashboard, you need to hover over to right top Settings > Retargeting Pixels as shown in the illustration after STEP 2
Step 2 Add New Pixel
Click on the "Add Pixel" button to add your pixel.
On the next step, you need to select the Ad Network from the list or you can select the custom option and paste your Javascript Snippet as illustrated below.
Not sure, where to find the Pixel ID? Follow the below links according to your ad network:
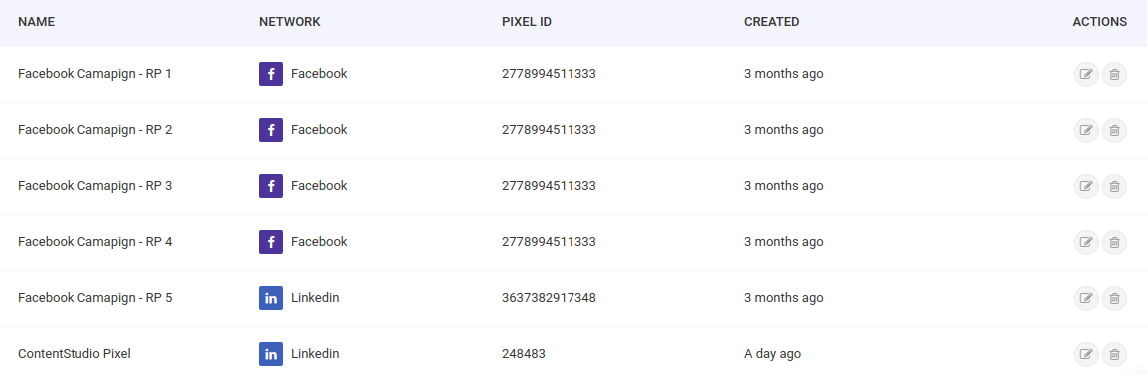
Step 3 Save Pixel and Use it in a Campaign
After saving the pixel that you added. You need to create a new campaign and select the retargeting pixels in there.
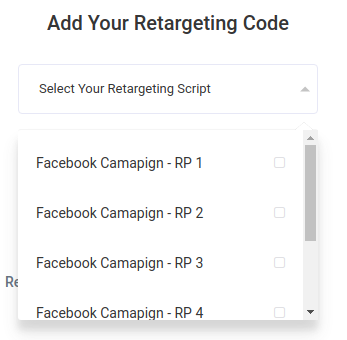
Once you have saved the campaign, you can create your links by going to the Links Section.
That's all you need to do to reuse the Pixels.
If you have any questions related to Replug, you can email us directly at support@replug.io or use the live chat on this page (also available on the dashboard at any time).
Was this article helpful?